
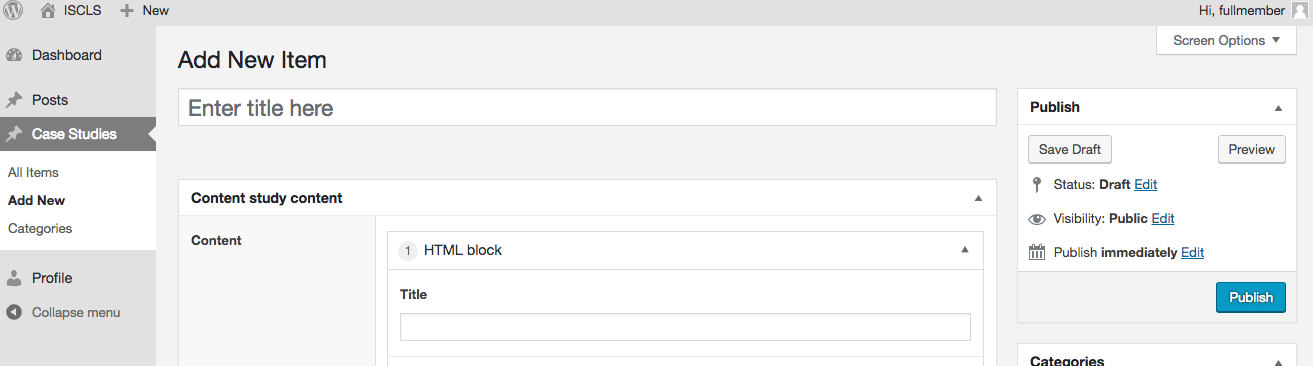
On the far left in the navigation bar you will see an option “Case Studies”. Here you can choose “All items” which will list all case studies created on the site or you can choose “Add new” which will allow you to create a new one.
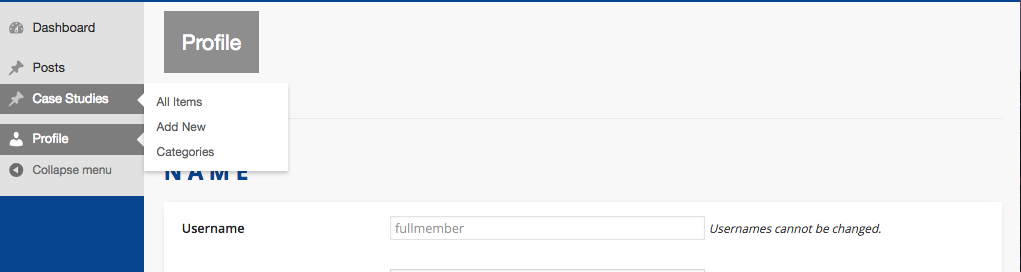
Click on “Add new”. This will bring you to the screen where you will create your case study. Here you will have the option to add a title and also some content (text and images).
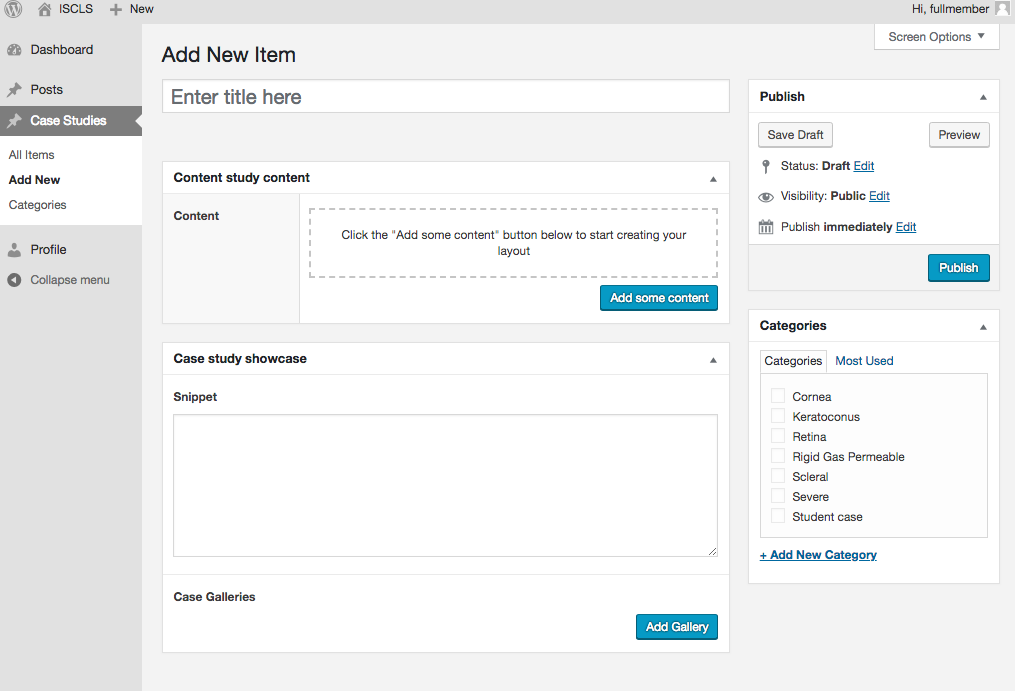
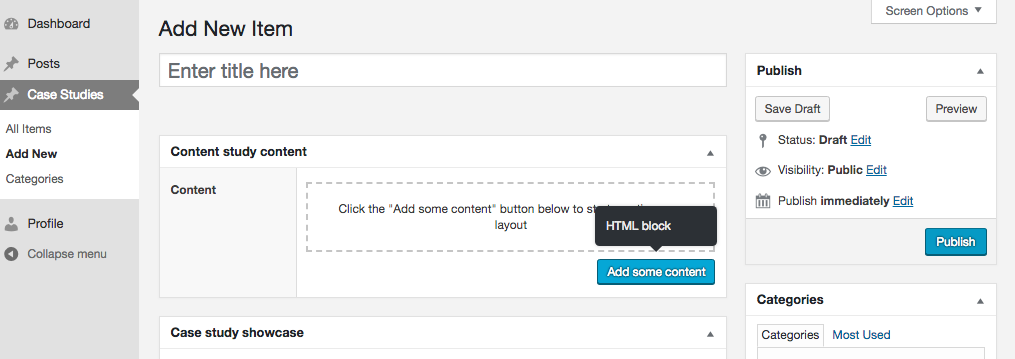
To add some text click on the “Add some content” button (slightly to the right of the screen). This will then show an option “HTML block”.
Click on the “HTML Block” option and a text editor will appear that will allow you to add and format some text. You can specify a title for your block of text and also add an image to be situated to the left or to the right of the text (your choice).
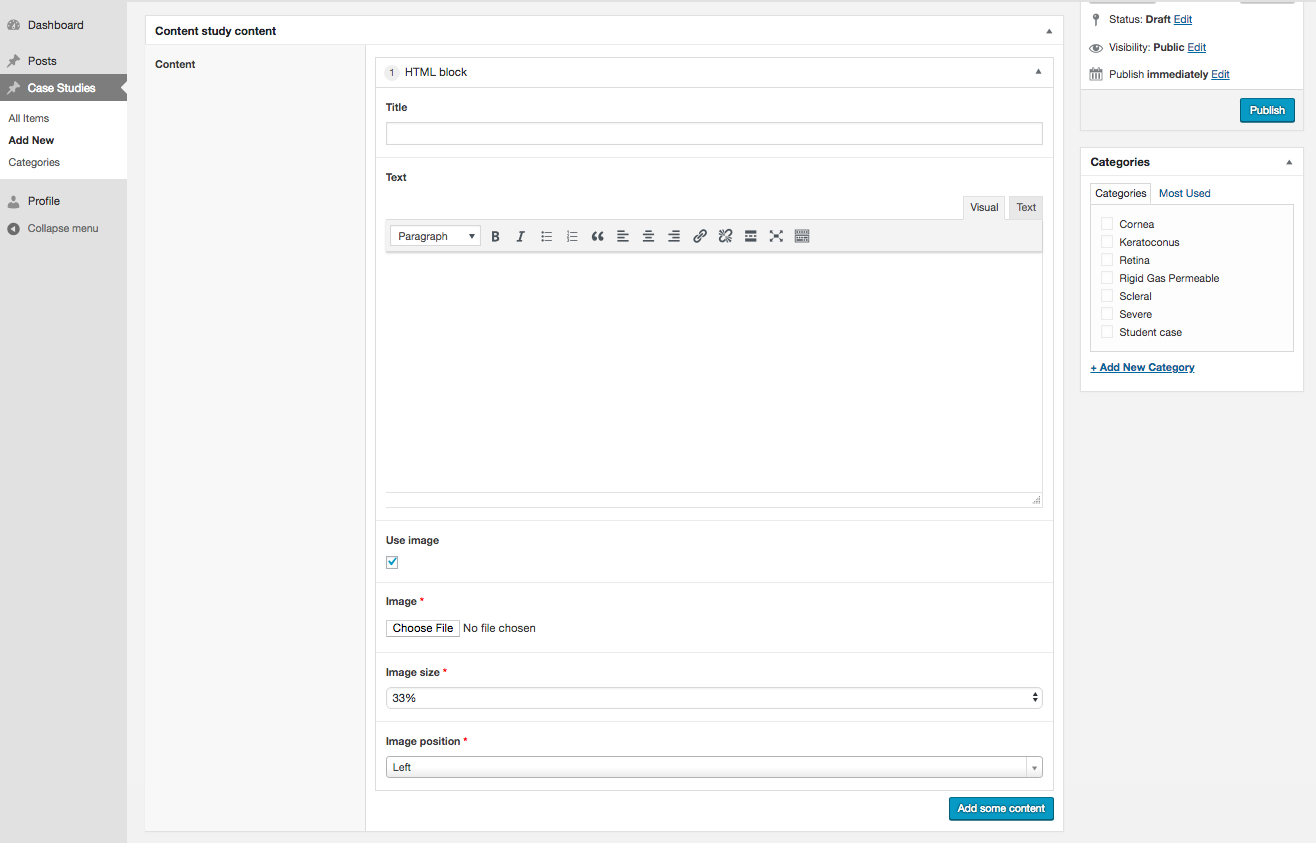
You can add multiple blocks of text by clicking on the “Add some content” button again.
Further down the screen you will see a section that will allow you to add a summary snippet about your case study (will be used a as a short description about the case study) and an image gallery to your case study.
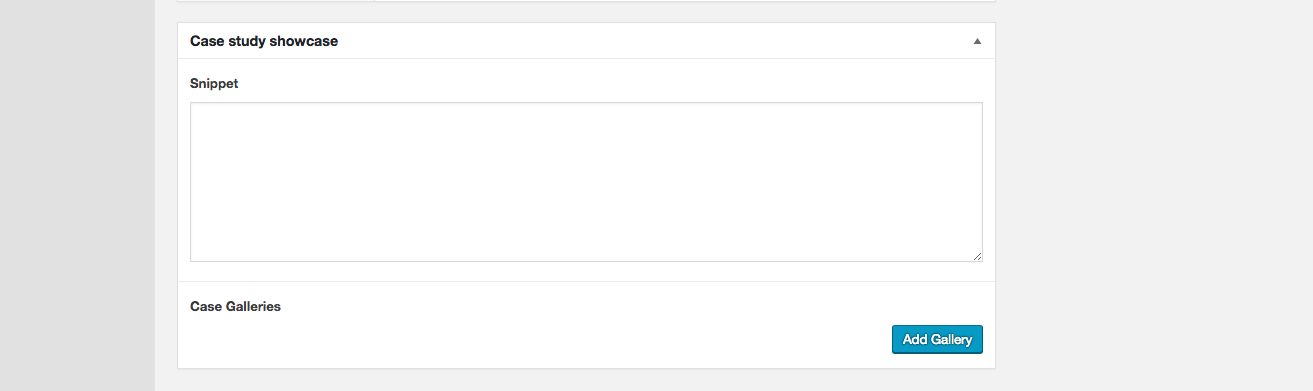
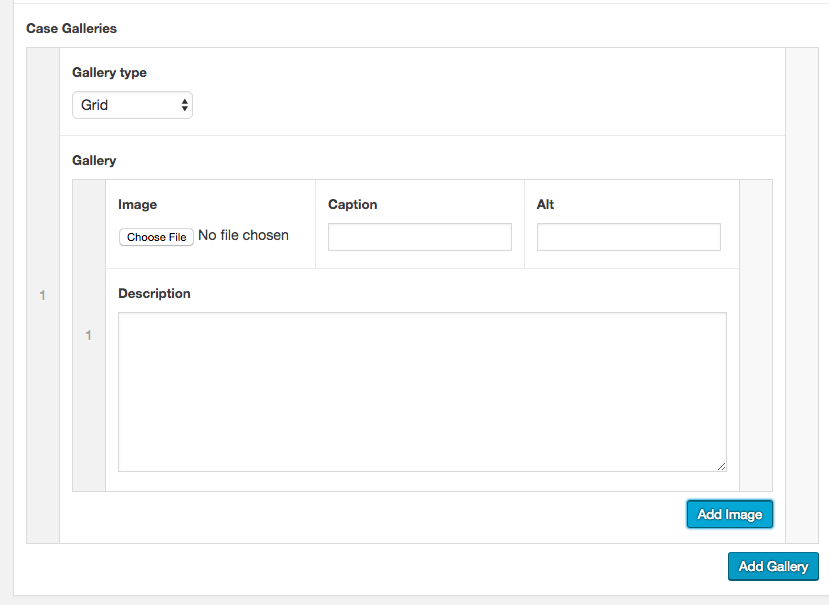
To add an image gallery click the “Add Gallery” button. This will allow you to specify the type (how the images are displayed on the website) and also allow you to add images to the gallery you are creating by clicking the “Add image” button. For each image you can add a description and a caption (short title).
Once you have finished scroll to the top of the page and click the “Publish” button (on the right side of the screen).
Then to see what the case study looks like on the website scroll right to the top and click the “View item” button
